![]()
The Great Strip-Down
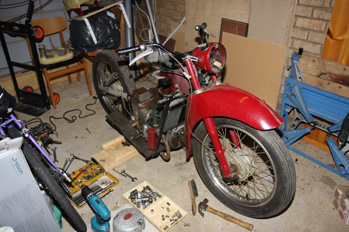
Within the first day or two, it quickly became obvious that a full strip-down was going to be necessary. I joined the LE Velo club and bought a workshop manual and parts book on a CD from eBay (£1.50!).
I soon obtained the missing kick-start pedal and shaft from another club member, these were quickly fitted but as half expected, the kick start went up and down without turning the engine over. At this point I decided to proceed with dismantling it all as quickly as possible. In fact you can strip it down pretty well in a couple of hours. It would undoubtedly have been easier if I'd had the manual at that stage!
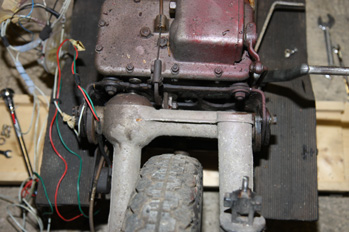
I took the body off like this, I now know it is easier to take away the body, steering head, forks and front wheel in one unit. |
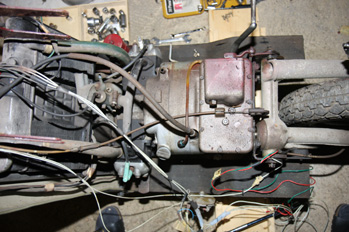
I can now see the engine and gearbox. I wonder if I can take that plate off the top of the gearbox and expose the kick-start mechanism? |
Annoying to see over-spray everywhere! Look at the steering head - that's the original colour! |
 |
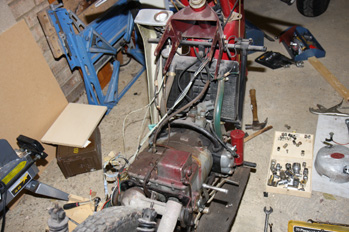
Some of the dirt has been painted over, other parts have been left dirt-coloured |
Now I know how the swinging arm works. More awful wiring here! I eventually chopped all the wiring up with cutters - I'll sort that lot out later - much later! |
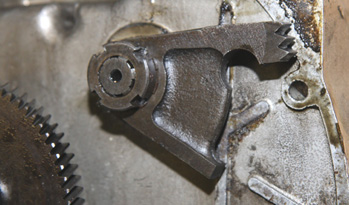
On dismantling the gearbox the reason for the kick-start problem was obvious. This broken segment drives the starter pinion.... |
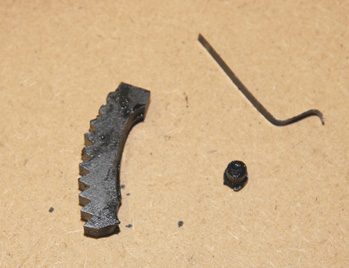
....and these bits were in the sump. On the right one of the starter pawl springs and its broken pivot. |
As can be seen above, the reason for the faulty kick-start was clear when I split the engine from the clutch housing. The starter segment, which turns the engine over had broken. The starter pinion actually drives the gearbox input shaft via two ratcheting pawls, one of which has lost its spring, due to the pivot having broken. My guess is that on breaking, the broken bit of starter segment struck the spring pivot forcibly and broke it.
All the bits ended up in the sump, which also contained a quantity of evil-smelling black jelly, which had once been oil. Another reason why it is never a good idea to try to start an engine which has been standing for a while without having a look inside first!
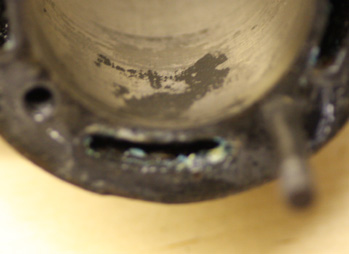
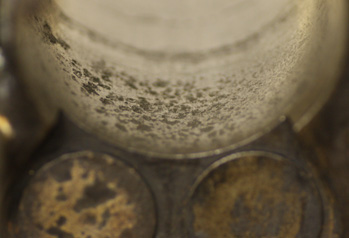
On removing the cylinder heads and barrels, there was significant corrosion to be seen in the barrels. The pistons are perfect, but are +.060" - probably the maximum over-bore.
Left cylinder - showing patch of corrosion, about 0.001" deep |
Right cylinder - showing pitting about 0.001" to 0.002" deep. |
|---|---|
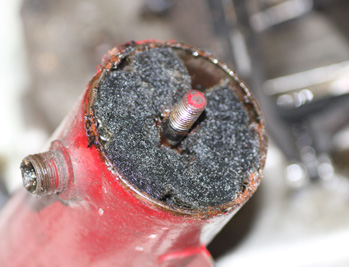
Oil filter tube, full of black gunk - I doubt if oil would have been able to pass through here at any pressure! |
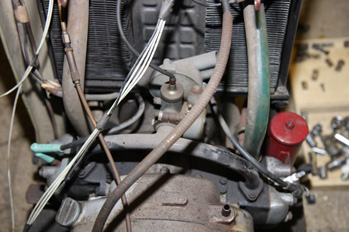
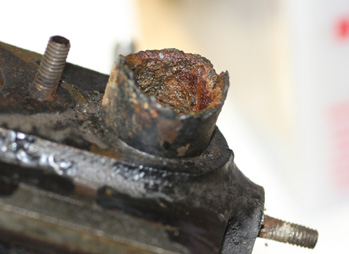
This is one of the 4 spigots for the radiator hoses, they are all in pretty well the same lovely condition |
The oil filter on this engine is a tube about 6 inches long, containing a replaceable gauze filter. As can be seen above, the filter is completely clogged with black gunk. I suspect this is just the sticky remains of the oil which has been standing in the filter for umpteen years - I don't think it would work too well however! The big question now is whether or not to strip down the bottom end of the engine. I only hesitate because of the need for various special tools. The issue is whether or not I can assume that the oil ways in the crankshaft, etc are clear. Much of the iol system uses copper pipes, which are removable. I think I'll take all those off and examine them. If they are clogged or contain any debris, I'll have to obtain the tools and do the full job.
The LE Velo is very unusual for its age in having a water cooled engine. Each barrel has two hoses, to the top and bottom of the radiator. The steel spigots are all badly rusted and probably not reliable. I shall have to make new ones - another job, but an easy one - the least of my problems!
To be continued!
Updated: 22nd January 2010